mail_outline sales@mediastorehouse.com
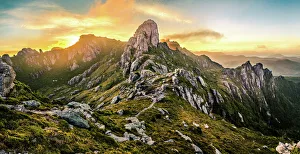
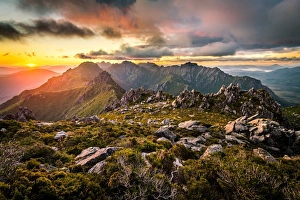
Sunset over mt. Hesperus in Western Arthur Range, Southwest Tasmania
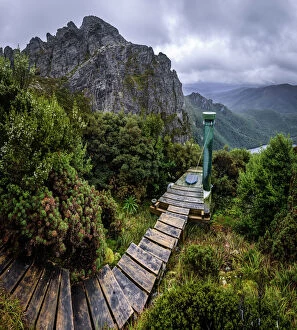
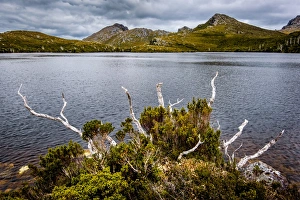
Toilet at Hanging Lake in Eastern Arthurs Range, Tasmania
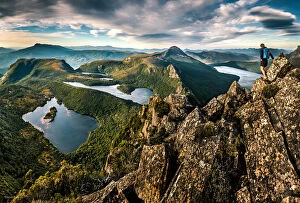
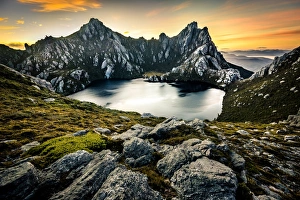
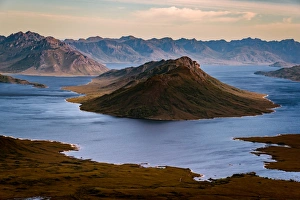
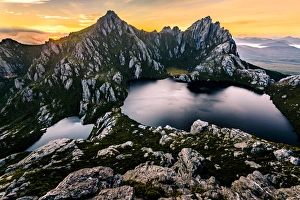
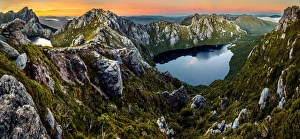
On the top of mt Scorpio in Western Arthurs Range, Southwest Tasmania. View toward Lake Vesta, Lake Juno and Promontory Lake
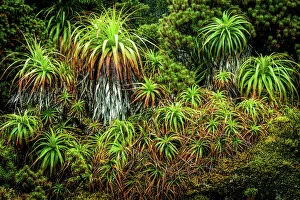
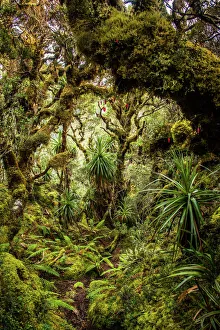
Pandani at Eastern Arthur Range, Southwest Tasmania
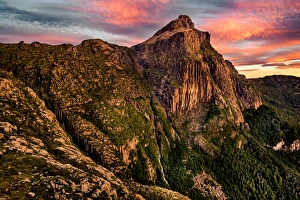
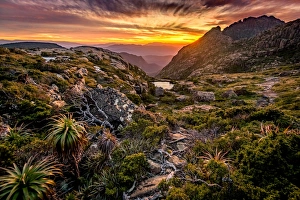
Sunrise ove Mt. Anne in Southwest Tasmania
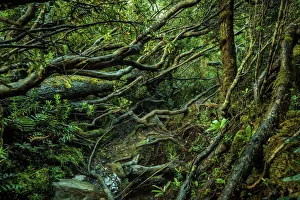
Track through at the rainforest at Ironbound Range, South Coast track, Southwest Tasmania
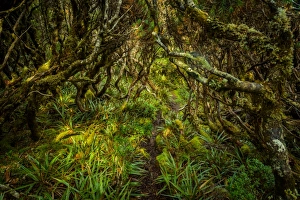
Rainforest at Goon Moor in Eastern Arthur Range, Southwest Tasmania
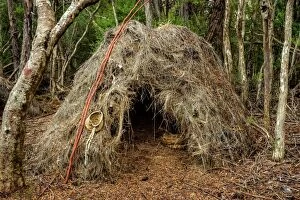
Aboriginal Shelter at Melaleuca, Southwest Tasmania
Following down the Lighting Ridge from mt Lot at mt. Anne circuit. Southwest TasmaniaFollowing down the Lighting Ridge from mt Lot, after cooperating on the on mt. Anne circuit. ašLake Judd on the right and Lonely ponds on the left. Southwest Tasmania
View of Lake Oberon from Pegasus South in Western Arthurs, Southwest Tasmania
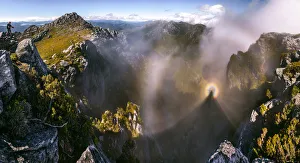
Brocken Spectre at the top of Dorado Peak in Western Arthurs RangeTaken on a side trip to Dorado Peak, in Western Arthurs Range. It was crazy weather all day here. While the Southern side of the mountains was covered in very thick fog all day
View of Eastern Arthurs Range, Lake Geeves and Hanging Lake from Geeves Bluff in Southwest Tasmania
Trail through the forest at Goon Moor in Eastern Arthur Range, Southwest Tasmania
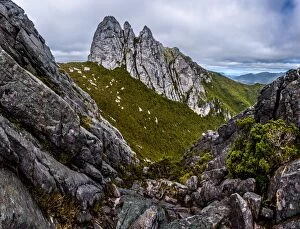
Track to Hanging Lake in Eastern Arthur Range, Southwest Tasmania
View to Federation Peak in Eastern Arthur Range, Southwest Tasmania
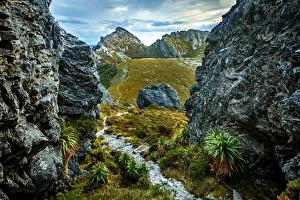
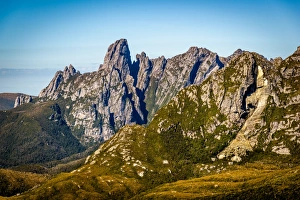
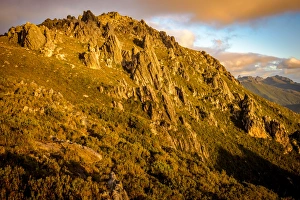
Four Peaks area in Eastern Arthur Range, Southwest Tasmania
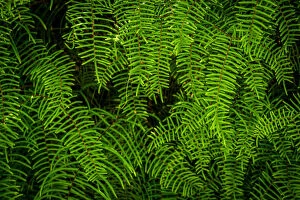
Tasmanian Fern (Doodia aspera) in Eastern Arthur Range, Tasmania
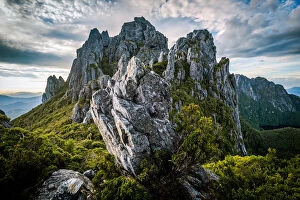
The Needles area in Eastern Arthurs Range, Tasmania
Promontory Lake in in Western Arthurs Range, Southwest Tasmania
Sunset at West Portal and view towards Western Arthurs Range, Southwest Tasmania
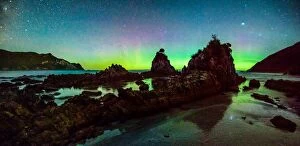
Aurora Australis at Wilson Bright, South West Cape track, Southwest Tasmania
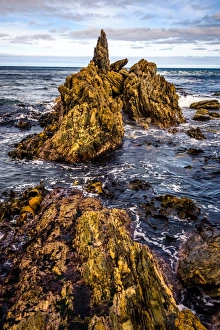
Wilson Bright, South West Cape track, Southwest TasmaniaInteresting rock formation at Wilson Bright, South West Cape track, Southwest Tasmania
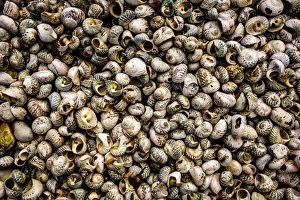
Shells at Wilson Bright, South West Cape track, Southwest Tasmania
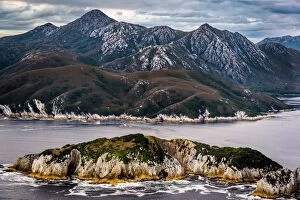
Breaksea Islands, Mt Rugby and Bathurst Harbour, Tasmania
Port Davey track at Melaleuca Plains, Southwest Tasmania
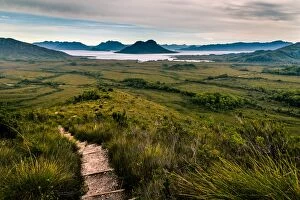
View of Lake Pedder from the trail up to mt Anne, Southwest Tasmania
View of Scotts Peak and Lake Pedder from mt Anne in Southwest Tasmania
Following a track to the Lighting Ridge at mt Anne plateau in South West TasmaniaFollowing a track to the Lighting Ridge at Eliza plateau in South West Tasmania
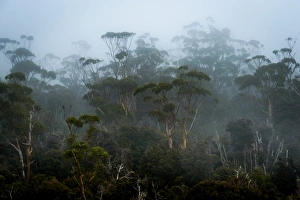
Fog in Eucalypt Forest in Southwest National Park, Tasmania
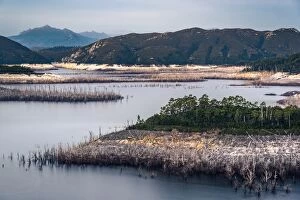
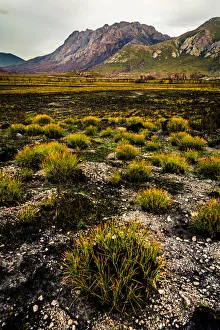
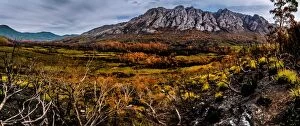
View to the Sentinel Range in Gordon River Valley after 2016 fires. Southwest Tasmania
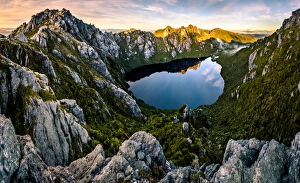
View of Lake Oberon and Lake Uranus from mt Pegasus in Western Arthur Range, Southwest Tasmania
View of Lake Oberon from mt Pegasus South in Western Arthur Range, Southwest Tasmania
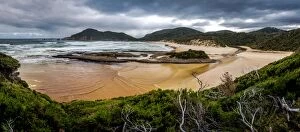
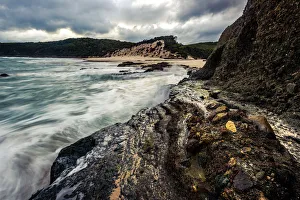
Surprise Bay at South Coast track, Southwest Tasmania
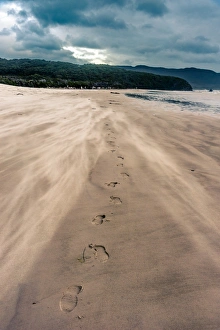
Footprints at the windy Cox Bright beach, South Coast track, Southwest Tasmania
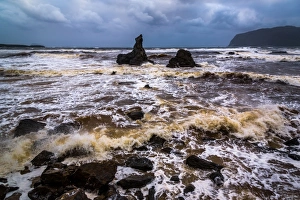
Rough seas Cox Bright at South Coast track, Southwest Tasmania
Osmiridium Beach at South Coast track, Southwest Tasmania
View of Lake Uranus and Obernon (on the left) from Pegasus South in Western ArthursView of Lake Uranus and Lake Obernon (on the left) from Pegasus South in Western Arthurs, Southwest Tasmania
View of Lake Uranus from Pegasus South in Western Arthurs, Southwest Tasmania
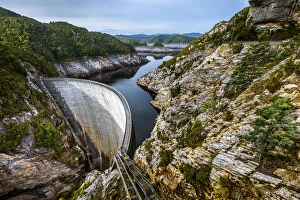
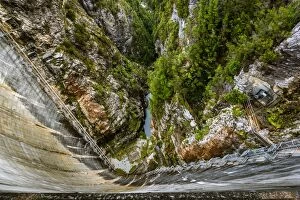
Gordon Dam in Southwest Tasmania198m long and 140m high Gordon Dam in Southwest Tasmania
Lake Gordon in Southwest Tasmania
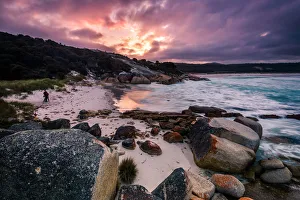
Binalong Bay at Mount William National Park, nBay of Fires, TasmaniaSunset at Binalong Bay at Mount William National Park, nBay of Fires, Tasmania
Gordon Dam in Southwest TasmaniaLooking down to 198m long and 140m high Gordon Dam in Southwest Tasmania
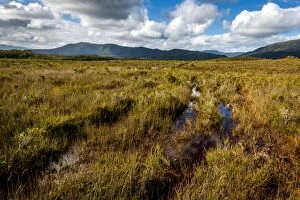
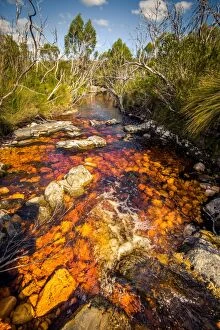
River (Pass Creek) at Arthur Plains in Southwest Tasmania
View to West Portal and Eastern Arthurs in Western Arthurs Range, Southwest Tasmania