mail_outline sales@mediastorehouse.com
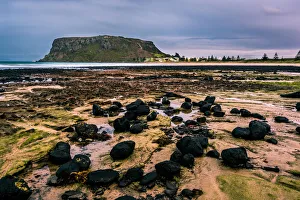
Stanley and The Nut, Tasmania
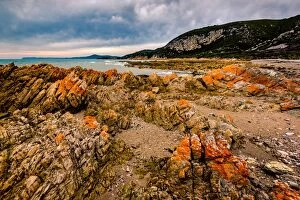
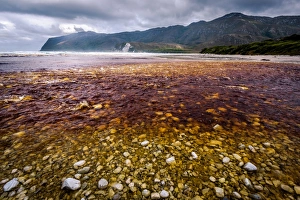
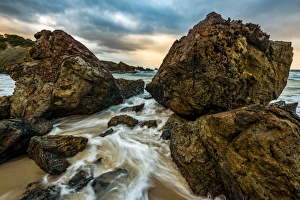
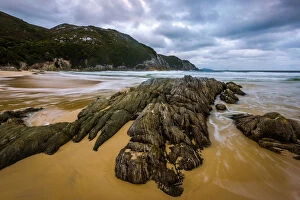
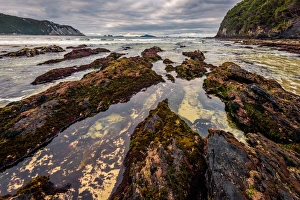
Shoreline at Rocky Cape, TasmaniaShoreline at Rocky Cape National Park, Tasmania
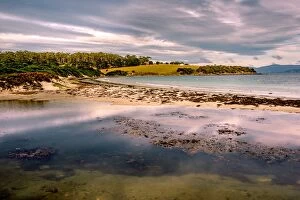
Darlington Bay at Maria Island, Tasmania
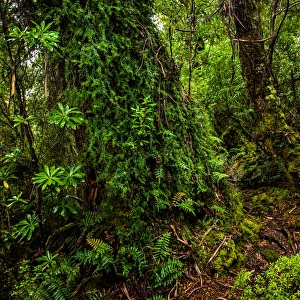
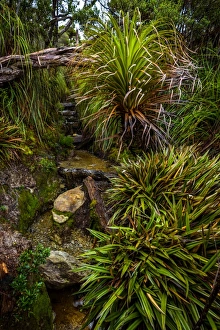
South Cape Range forest at South Coast track, Southwest TasmaniaSouth Cape Range forest
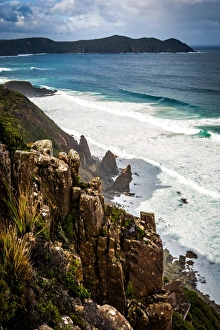
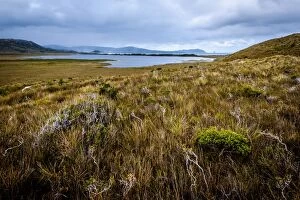
View to South East Cape at South Coast track, Southwest Tasmania
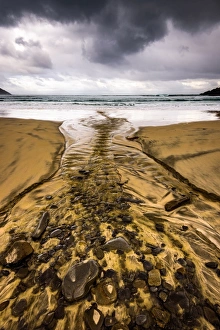
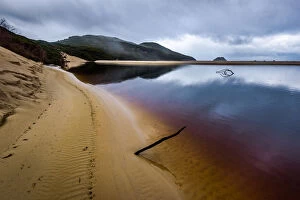
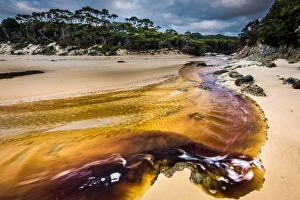
South Cape Rivulet at South Coast track, Southwest Tasmania
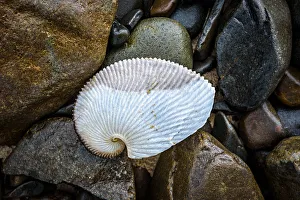
Shell at South Cape Rivulet, South Coast track, Southwest Tasmania
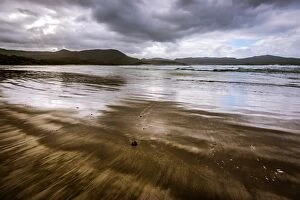
South East Cape Bay at South Coast track, Southwest Tasmania
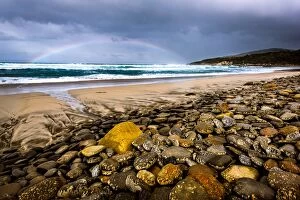
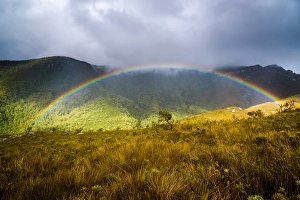
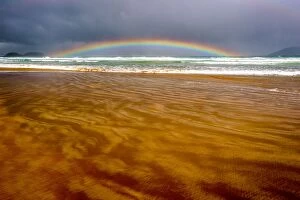
Rain bow at Ironbound Range, South Coast track, Southwest Tasmania
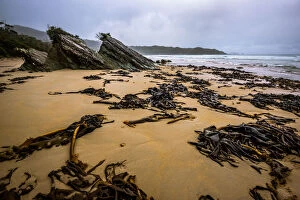
Deadmans Bay at South Coast track, Southwest Tasmania
Cox Bright beach, South Coast track, Southwest Tasmania
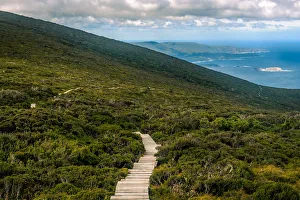
Track at the top of Ironbound Range, South Coast track, Southwest Tasmania
Track at Ironbound Range, South Coast track, Southwest Tasmania
Cox Bright and New Harbor Range at South Coast track, Southwest Tasmania
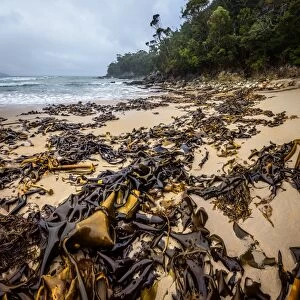
Osmiridium Beach at South Coast track, Southwest Tasmania
Surprise Bay at South Coast track, Southwest Tasmania
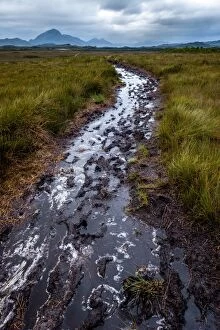
Muddy track to Melaleuca, South Coast track, Southwest Tasmania
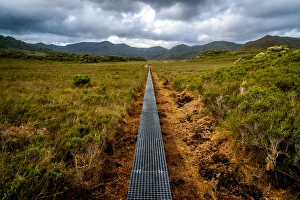
New Track through Luisa Plains at South Coast track, Southwest Tasmania
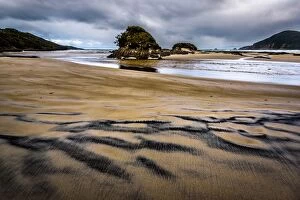
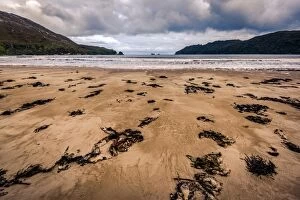
Prion Bay on South Coast Track, Southwest Wilderness. Tasmania
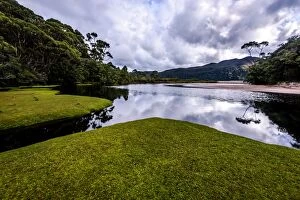
Freney Lagoon at South Coast track, Southwest Tasmania
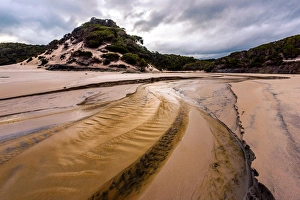
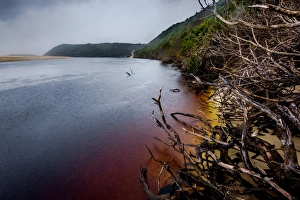
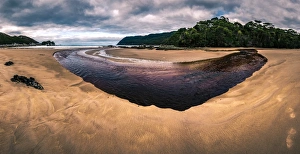
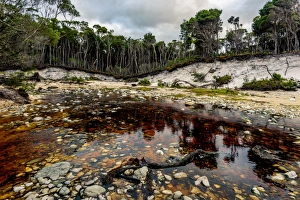
Milford Creek at Prion Bay, South Coast track, Southwest Tasmania
Track through at the rainforest at Ironbound Range, South Coast track, Southwest Tasmania
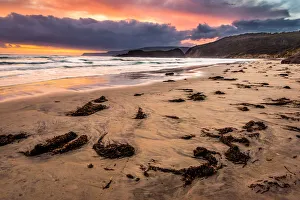
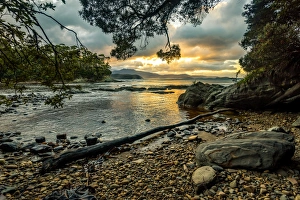
Sunrise at Little Deadmans Bay, South Coast track, Southwest Tasmania
New Harbor, South West Cape trail, Southwest Tasmania
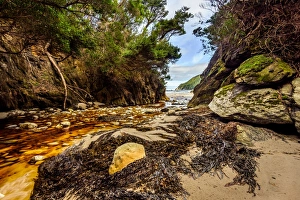
New Falls Creek at New Harbor, South West Cape trail, Southwest Tasmania
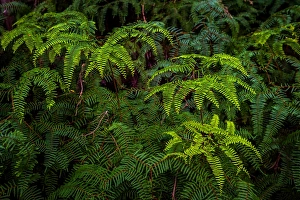
Ferns at Hidden Bay at South West Cape trail, Southwest Tasmania
Hidden Bay at South West Cape trail, Southwest Tasmania
Hidden Bay at South Coast track, Southwest Tasmania
Ketchem Bay at South West Cape trail, Southwest Tasmania
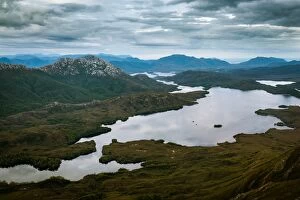
Bathurst Harbour, Tasmania
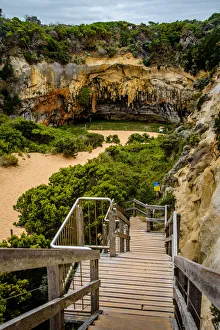
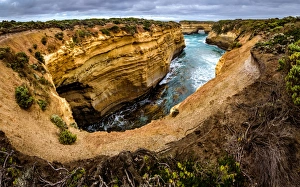
Limestone cave near Lord Ard Gorge at Great ocean Road, Victoria
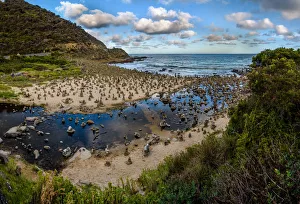
Cairn Beach at Great ocean Road, Victoria
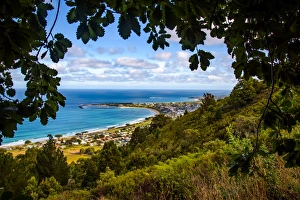
Apollo Bay at Great ocean Road, Victoria
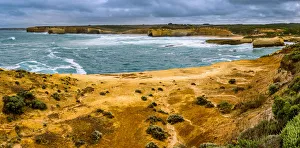
Sunset at Bay of Islands, Great Ocean Road, Victoria
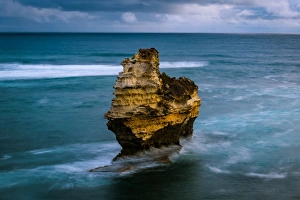
Sea stack at Bay of Islands, Great Ocean Road, Victoria
View to Muttonbird Island at Great ocean Road, Victoria
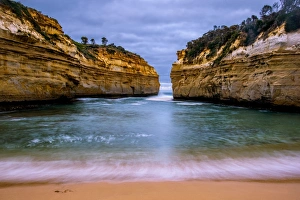
Lord Ard Gorge at Great ocean Road, Victoria
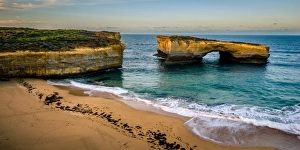
London Bridge at Great ocean Road, Victoria
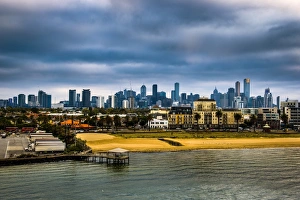
View from the coast to Melbourne Skyline
Sherbrook River Beach at Great ocean Road, Victoria