mail_outline sales@mediastorehouse.com
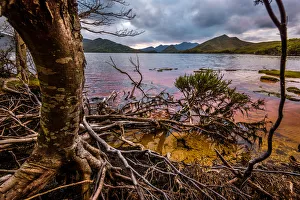
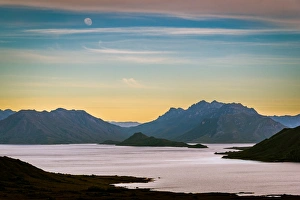
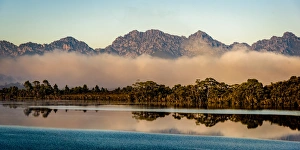
Sunset at Horseshoe Inlet deep in the Southwest Wilderness, Tasmania
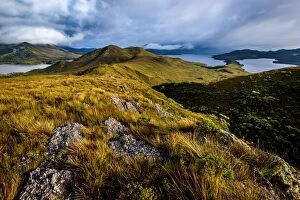
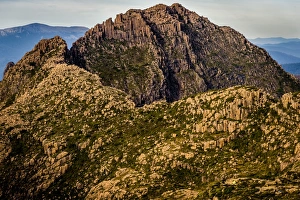
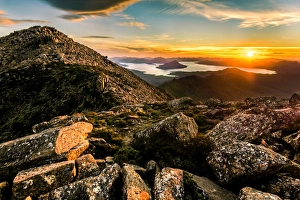
View from the top of Mt Beattie, Southwest Tasmania
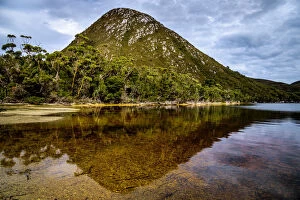
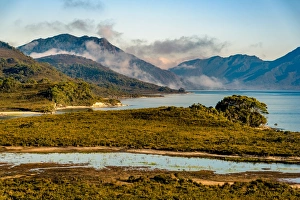
Balmoral Hill at Bathurst Harbour, Southwest Tasmania
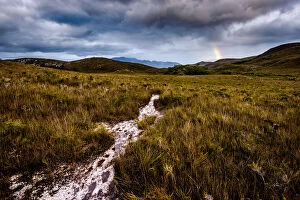
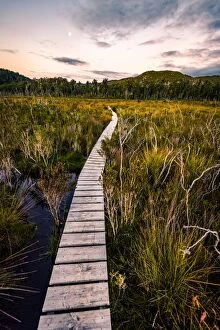
Port Davey track at Melaleuca Plains, Southwest Tasmania
Tasmanian West Coast, Southwest National ParkThis is the view to the Tasmanian West Coast from the slopes of mt Karamu. Up here Southwest Cape Range (631m) meet the sea. It took me 9 days and 100km + to get here
Lighting Ridge in Southwest Tasmnaia
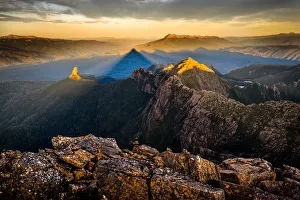
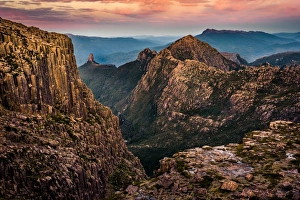
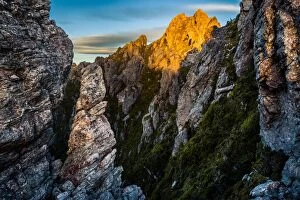
Sunset at the top of mt Anne in Southwest Tasmania. View to Lots Wife and Lighting Ridge
View of Lake Pedder from mt Anne in Southwest Tasmania
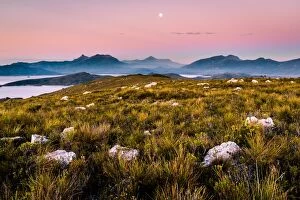
Sunset over Lake Pedder from the top of mt Anne in Southwest Tasmania
Mt Anne at Eliza Plateau in South West Tasmania
Aerial view to Federation Peak and Eastern Arthurs Range over West Portal in Southwest Tasmania
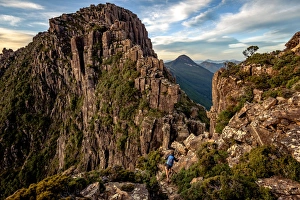
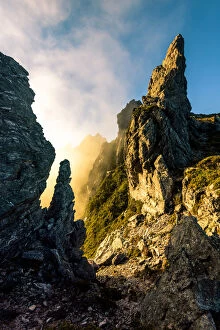
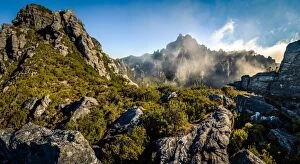
Climbing Lighting Ridge at Eliza Plateau in South West Tasmania
View to Lots Wife and Lighting Ridge from mt Anne in Southwest Tasmania
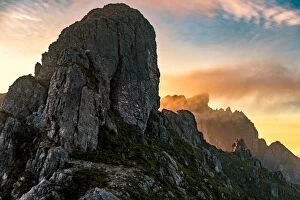
View of mt Anne from Red Knoll lookout
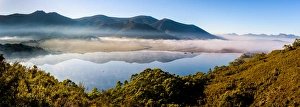
Morning fog over Lake Pedder, Southwest Tasmania
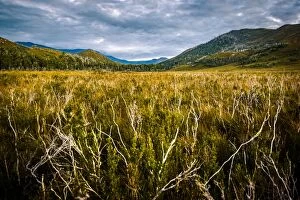
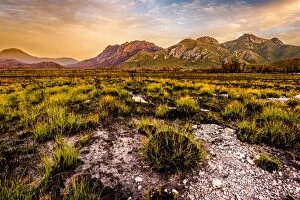
Sunset at Arthur Plains in Southwest Tasmania
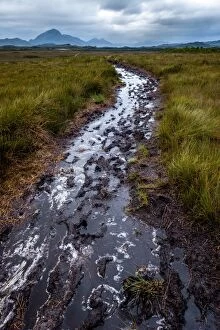
Dieback disease area at Arthur Plains in Southwest Tasmania
View of mt Anne from Red Knoll lookout, Southwest Tasmania
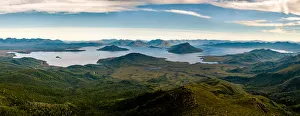
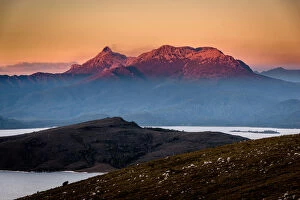
Lake Pedder and Western Arthurs Range, Tasmania
View to the Sentinel Range in Gordon River Valley after 2016 fires. Southwest Tasmania
mt. Hayes in Western Arthur Range, Southwest Tasmania
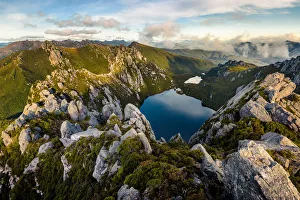
View of Lake Oberon from mt Oberonin Western Arthur Range, Southwest Tasmania
View of Lake Oberon Lake Uranus from mt Pegasus in Western Arthur Range, Southwest Tasmania
Sunset over mt. Hesperus in Western Arthur Range, Southwest Tasmania
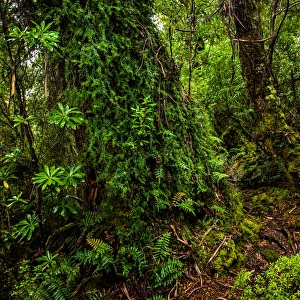
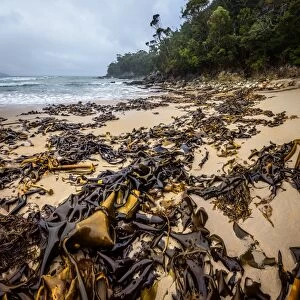
South Cape Range forest at South Coast track, Southwest TasmaniaSouth Cape Range forest
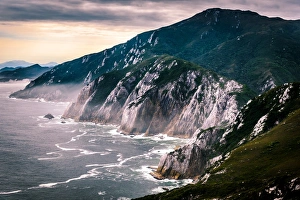
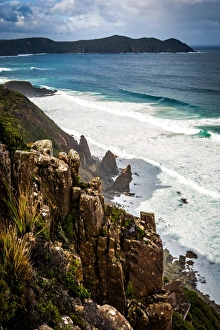
View to South East Cape at South Coast track, Southwest Tasmania
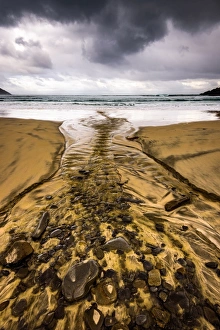
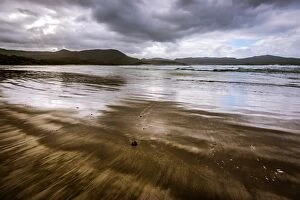
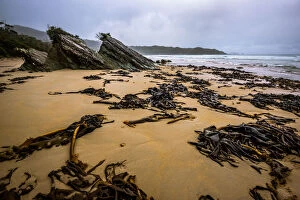
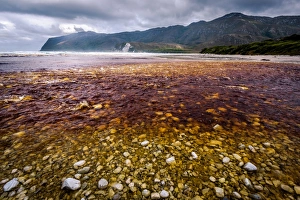
South Cape Rivulet at South Coast track, Southwest Tasmania
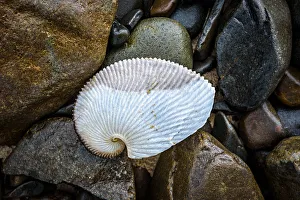
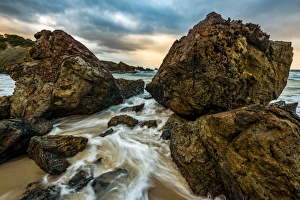
Shell at South Cape Rivulet, South Coast track, Southwest Tasmania
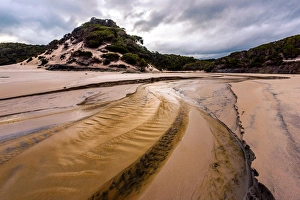
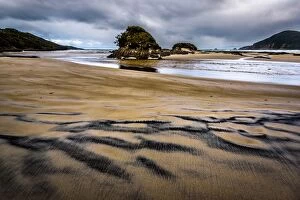
South East Cape Bay at South Coast track, Southwest Tasmania
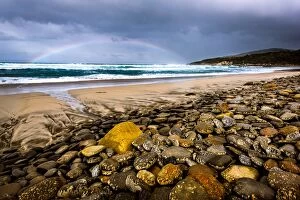
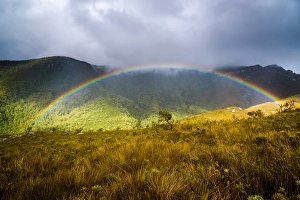
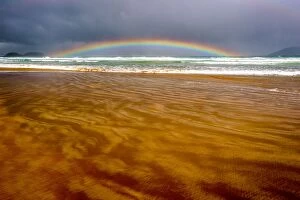
Rain bow at Ironbound Range, South Coast track, Southwest Tasmania
Deadmans Bay at South Coast track, Southwest Tasmania
Cox Bright beach, South Coast track, Southwest Tasmania
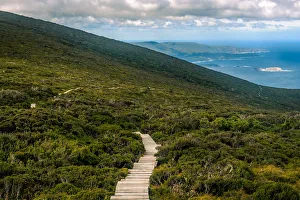
Track at the top of Ironbound Range, South Coast track, Southwest Tasmania
Track at Ironbound Range, South Coast track, Southwest Tasmania
Cox Bright and New Harbor Range at South Coast track, Southwest Tasmania
Osmiridium Beach at South Coast track, Southwest Tasmania
Surprise Bay at South Coast track, Southwest Tasmania
Muddy track to Melaleuca, South Coast track, Southwest Tasmania
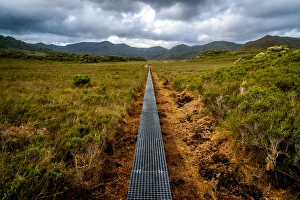
New Track through Luisa Plains at South Coast track, Southwest Tasmania
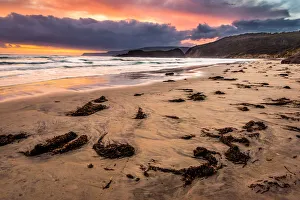
Prion Bay on South Coast Track, Southwest Wilderness. Tasmania