mail_outline sales@mediastorehouse.com
448 items
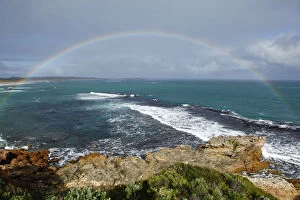
Rainbow over coast and ocean. AustraliaRainbow over coast and ocean. Beachport. Limestone Coast. South East. South Australia
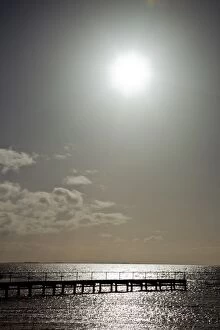
Sun shining on Coorong. South AustraliaSun shining over wooden jetty at Lake Albert, Meningie, Coorong, South Australia
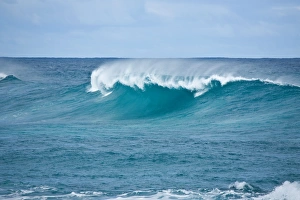
Breaking waveOcean wave breaking at Hanson Bay Kangaroo Island South Australia
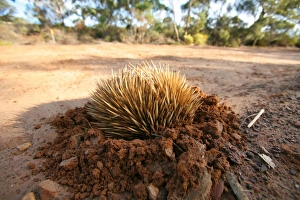
EchidinaThe Echidina is a small native Australian mammal. Kangaroo Island. South Australia
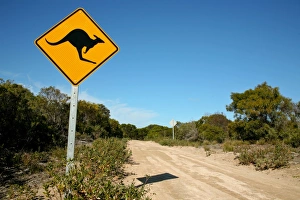
Kangaroo Island warning signYellow and black kangaroo warning sign. Country dirt road. Blue sky. Typical Australian outback scene. Kangaroo Island. South Australia
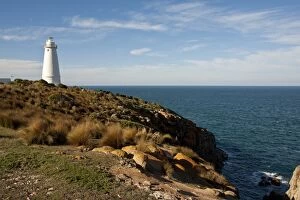
Cape Willoughby Lighthouse, Kangaroo Island, South AustraliaCape Willoughby lighthouse built 1852. The oldest lighthouse in South Australia. Kangaroo Island. South Australia
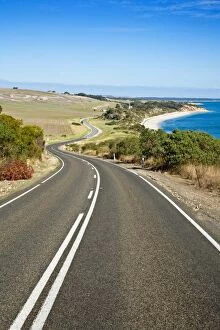
Kangaroo IslandCountry road near American River. Winding road following the coast. Kangaroo Island. South Australia
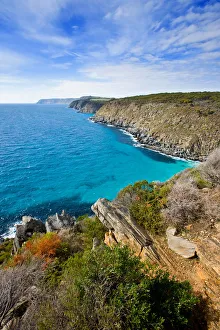
Scott Cove Kangaroo IslandClean ocean water and cliffs at Scott Cove. Kangaroo Island. South Australia
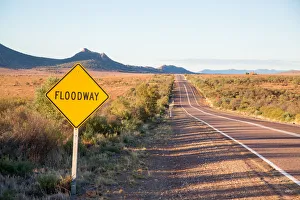
Floodway sign. Flinders Ranges. AustraliaFloodway sign on the roadside near Hawker. Flinders Ranges. South Australia
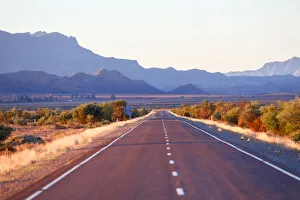
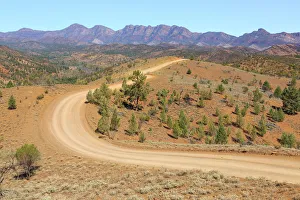
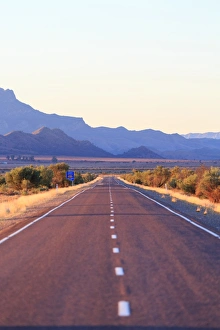
Highway. Flinders Ranges. South AustraliaHighway south of Wilpena Pound. Mountains of the Flinders Ranges. South Australia
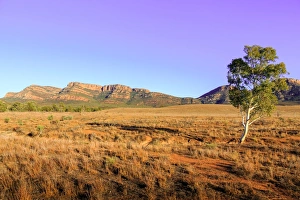
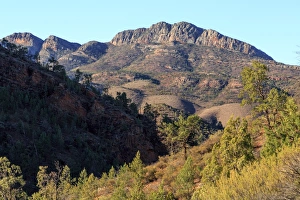
Wilpena Pound. Flinders Ranges. AustraliaWilpena Pound. Outback Australia. Flinders Ranges. South Australia
Wilpena Pound
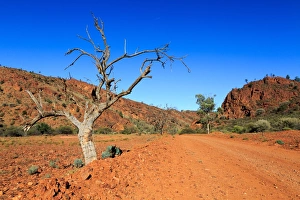
Outback road. Flinders Ranges. AustraliaDead tree and remote outback road. Flinders Ranges. South Australia
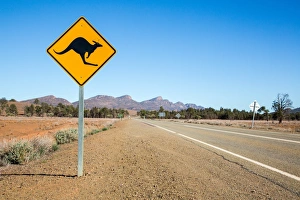
Kangaroo sign. Wilpena Pound. Flinders RangesKangaroo warning sign in outback Australia. Wilpena Pound. Flinders Ranges. South Australia
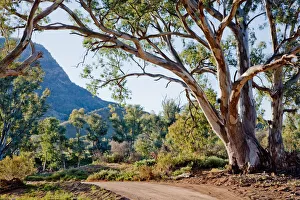
Gum tree in the Flinders Ranges. South AustraliaGum tree in the Flinders Ranges. Arkaroola. South Australia
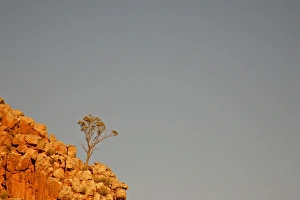
Tree on a rocky cliff
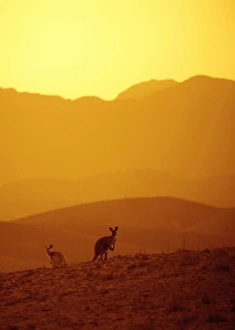
Kangaroos in the outback AustraliaKangaroos at sunset. Wilpena Pound. Flinders Ranges. South Australia
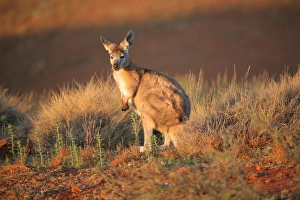
Kangaroo in the wild. AustraliaKangaroo in the wild. Flinders Ranges. South Australia
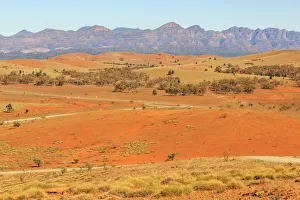
Bunyeroo Valley. Flinders Ranges. AustraliaBunyeroo Valley. Wilpena Pound. Flinders Ranges. Australia
Wilpena Pound. Flinders Ranges. South Australia
Brachina GorgeGum trees in a creek. Brachina Gorge. Flinders Ranges. South Australia
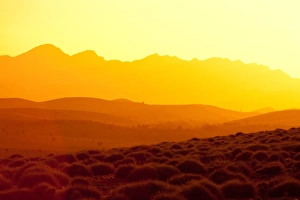
Flinders RangesSunset over the mountains of Wilpena Pound. Flinders Ranges. Remote outback Australian landscape. South Australia
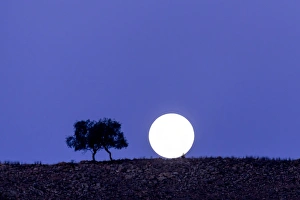
StargazingFull moon and silhouette of a tree. Flinders Ranges. Australia
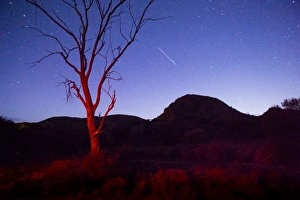
StargazingSatellite over outback Australia
Perfect PurpleRoad and mountains. Flinders Ranges. Australia
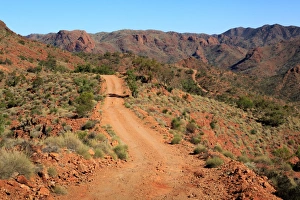
Arkaroola. Flinders Ranges. South AustraliaOutback track at Arkaroola. Ridge top drive. Flinders Ranges. South Australia
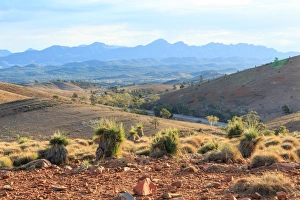
Wilpena Pound. Flinders Ranges. South AustraliaWilpena Pound from Hucks Lookout. Flinders Ranges. South Australia
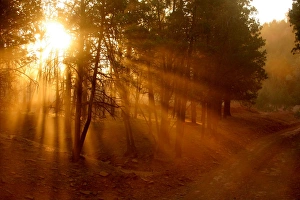
Country road. Flinders Ranges. South AustraliaSun rays though red dust. Dirt road in the Flinders Ranges. Outback South Australia
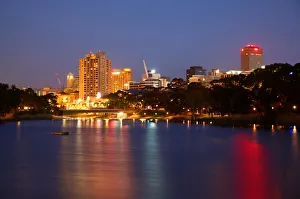
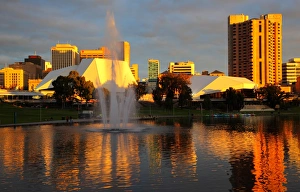
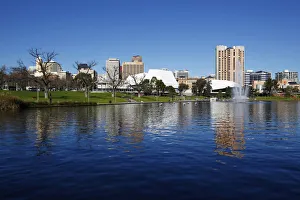
River Torrens AdelaideCity lights over the River Torrens. Adelaide. Capital city of South Australia
River Torrens and City of Adelaide at sunset in South Australia
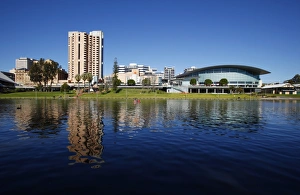
Adelaide and River Torrens in South AustraliaAdelaide skyline reflection on River Torrens
River TorrensReflections in River Torrens, Central business district, Adelaide, South Australia
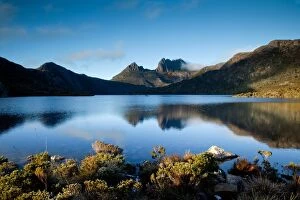
Dove Lake. Cradle Mountain. Tasmania. Australia
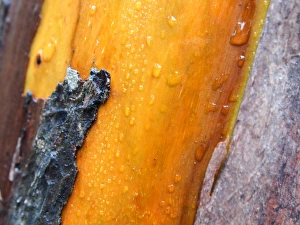
Gum tree bark. Cradle Mountain. Tasmania
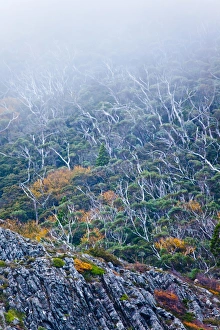
Trees and fog on Cradle Mountain. Tasmania. Australia
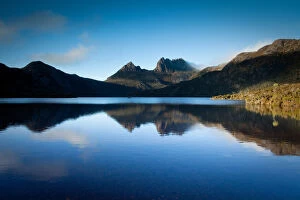
Cradle Mountain reflected in Dove LakeReflections of Cradle Mountain in Dove Lake. Cradle Mountain. Tasmania. Australia
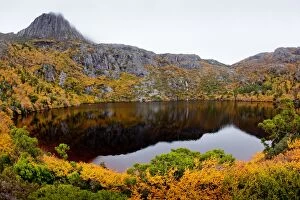
Dove Lake. Cradle Mountain. Tasmania. AustraliaDawn reflections on calm fresh water lake. Mist over mountain peak. Dove Lake. Cradle Mountians. Tasmania. Australia
Nothofagus gunnii flowering at Cradle Mountain, Tasmania, Australia
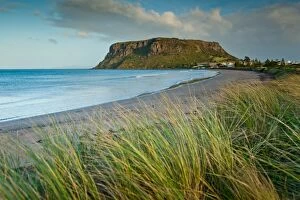
Nut at Stanley west side of stanley with dune grass and beach in foreground, township of stanley below rock formation in Tasmania, Australia
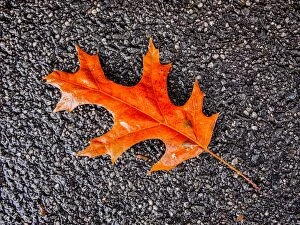
Autumn leaf on sidewalk of wet pavement with orange colored leaf
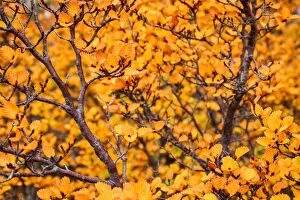
Fagus. Cradle Mountain. Tasmania. AustraliaFagus as it turns yellow. Cradle Mountain. Tasmania. Australia
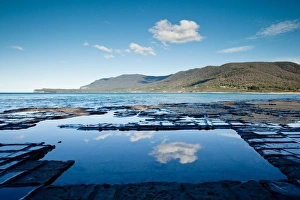
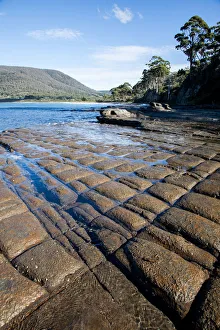
Tesselated Pavement. Tasmania. AustraliaReflection of clouds in calm seawater pool. Tesselated Pavement. Square formations naturally ocurring in coastal rocks. Eaglehawk Neck. Tasmania. Australia
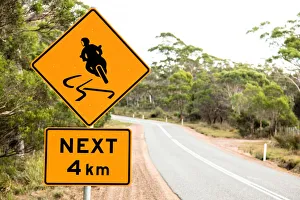
Warning sign for motor bikes. Tasmania. AustraliaWarning sign for motor cyclists. Slippery when wet sign. Dangerous winding road ahead. Tasmania. Australia
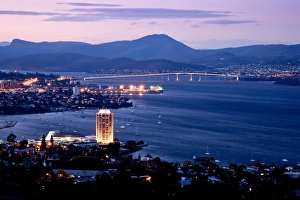
Hobart at dusk. Capital city of Tasmania. View north showing the Wrest Point Casino, the central business district and the Tasman Bridge crossing the Derwent River
Tessellated pavement. Tasmania, AustraliaThis unusual geological formation gives the rocks the effect of having been rather neatly tiled by a giant. The pavement appears tessellated (tiled)
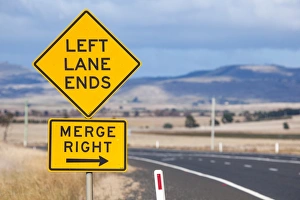
Left lane ends and merge right sign. TasmaniaLeft lane ends and merge right sign on side of midland highway
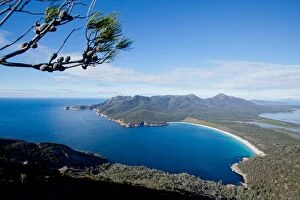
Wineglass Bay beach in Tasmania, Australia
Hobart and SouthAustralian Views Tasmania: Hobart and South